How to Import a Floor Plan Image
- 04 Mar 2022
- 1 Minute to read
- Contributors

- Print
- DarkLight
How to Import a Floor Plan Image
- Updated on 04 Mar 2022
- 1 Minute to read
- Contributors
- Print
- DarkLight
Article summary
Did you find this summary helpful?
Thank you for your feedback!
How to Import a Floor Plan Image
Import the Floor Plan
1. Access the desired Location in FormLink.
2. Select Define Zone Maps.
 Define Zone Maps
3. The Assemblies to Map section is displayed.
 Assemblies to Map
4. Select an Assembly to map.
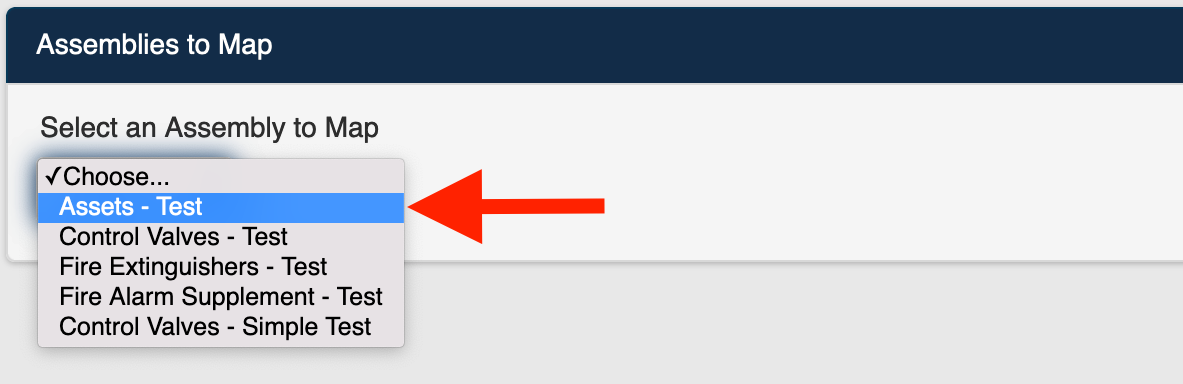 Select Assembly
5. The Zone Map section of the page is displayed.
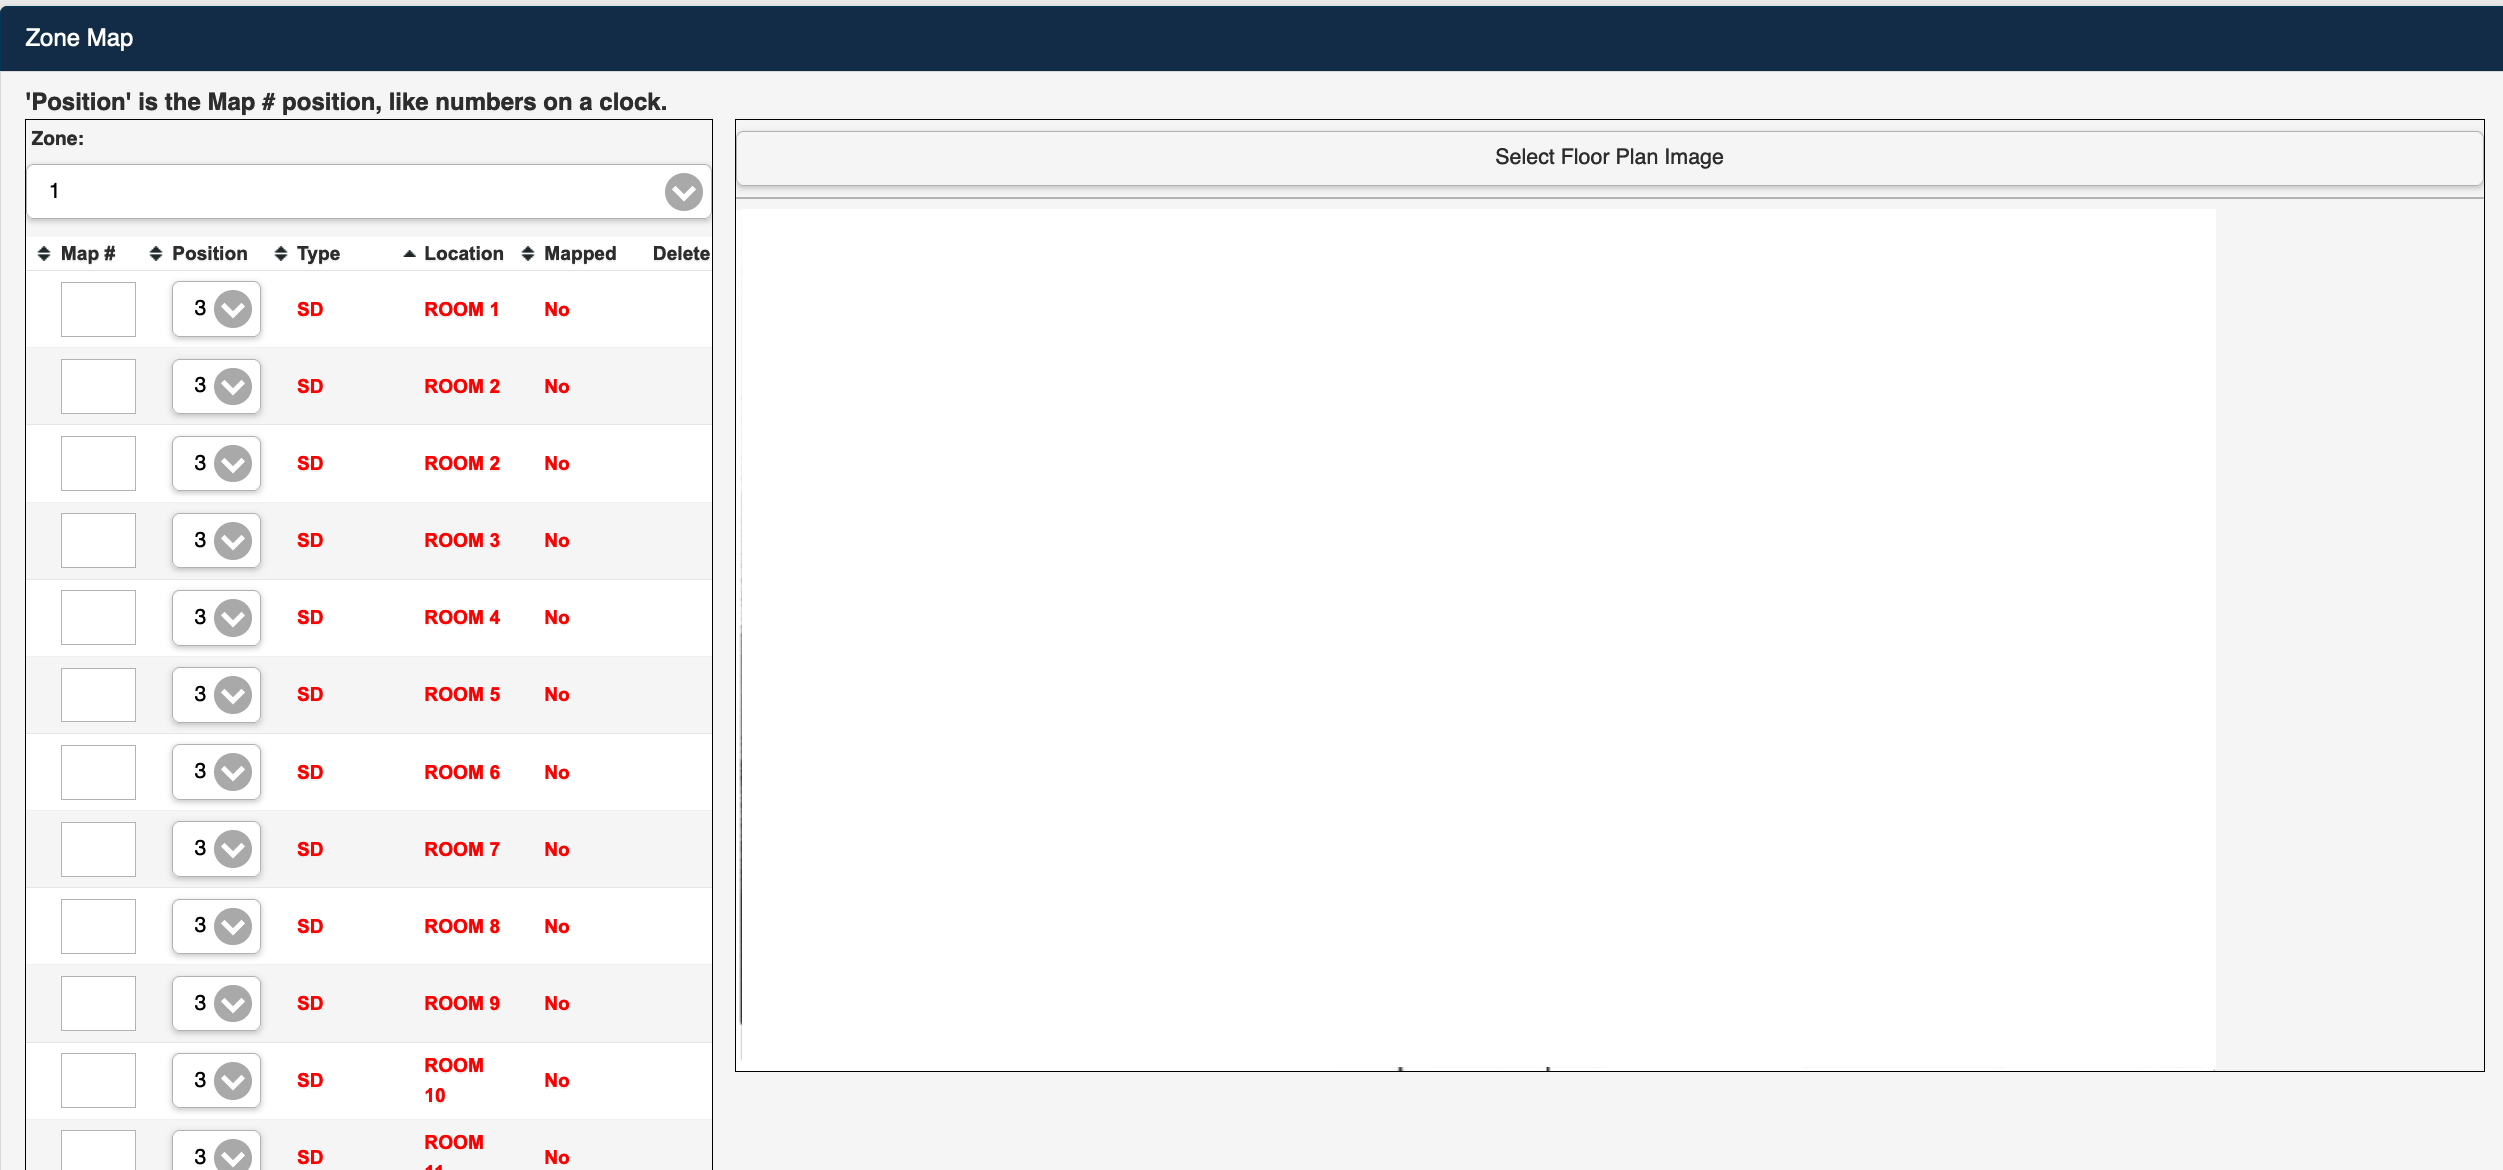 Zone Map Section
6. Select the Select Floor Plan Image button at the top of the image display area. 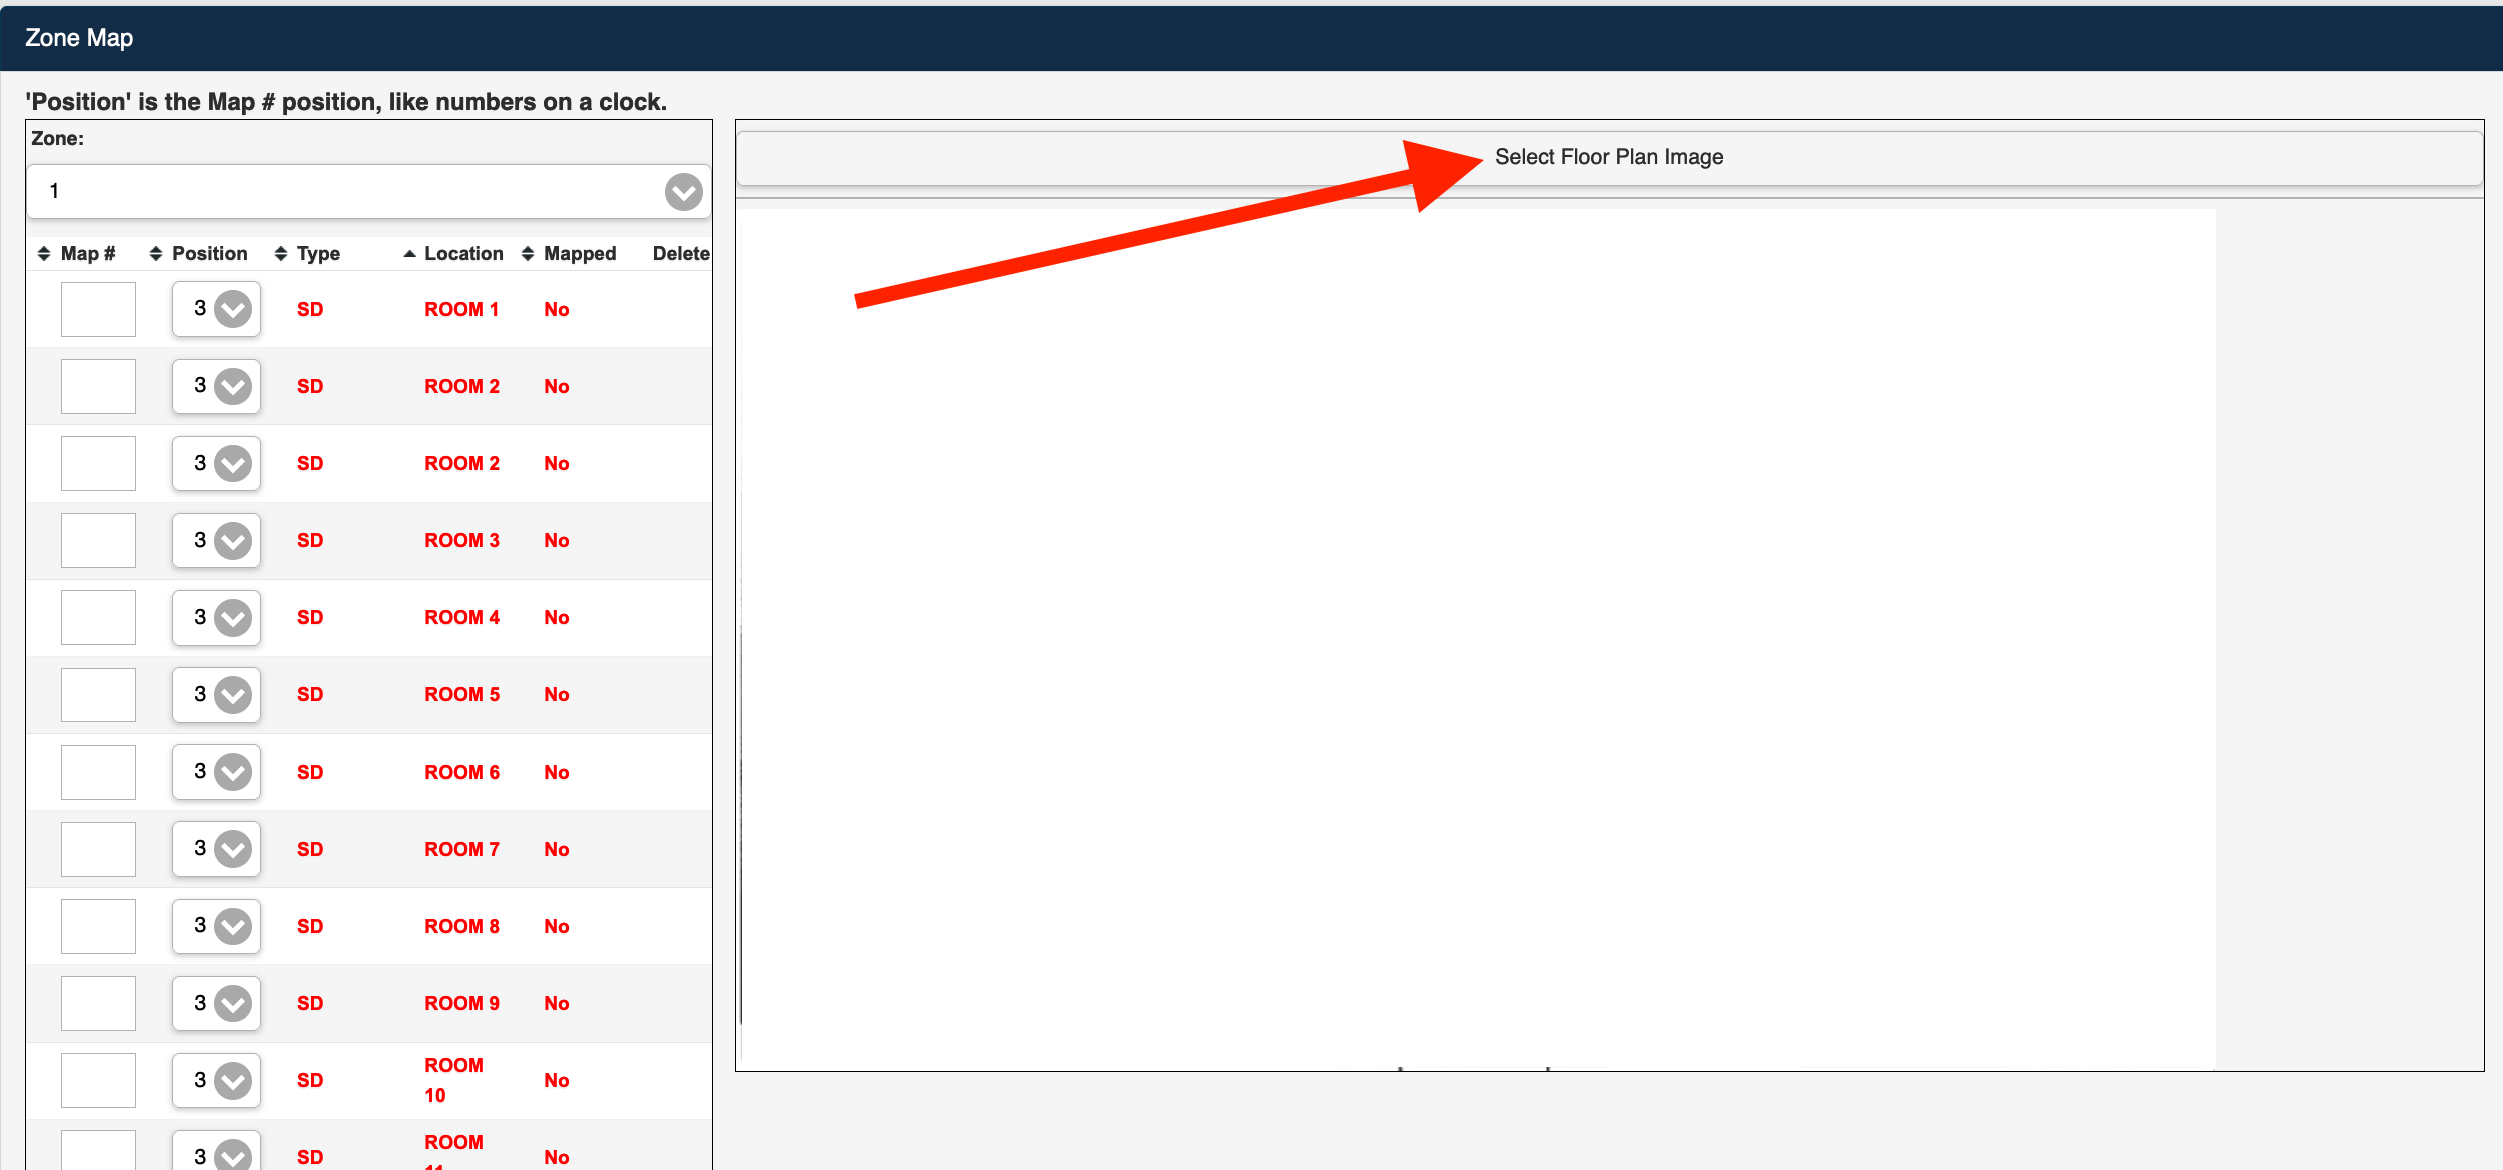 Select Floor Plan Image
7. Select an image file and upload the floor plan to FormLink using Choose Files to Upload (Mac) window or similar.
Note: Always use an image file with a .png or .jpeg file extension.
 Select Image File
8. If the file extension for the floor plan image file is not recognized, a system message will be displayed.
If you receive this message, select Close and select a different file.
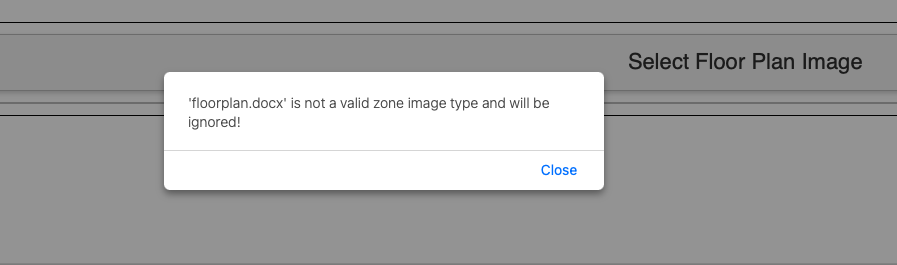 Image File Not Recognized
9. The floor plan image is uploaded and displayed on the Zone Map page.
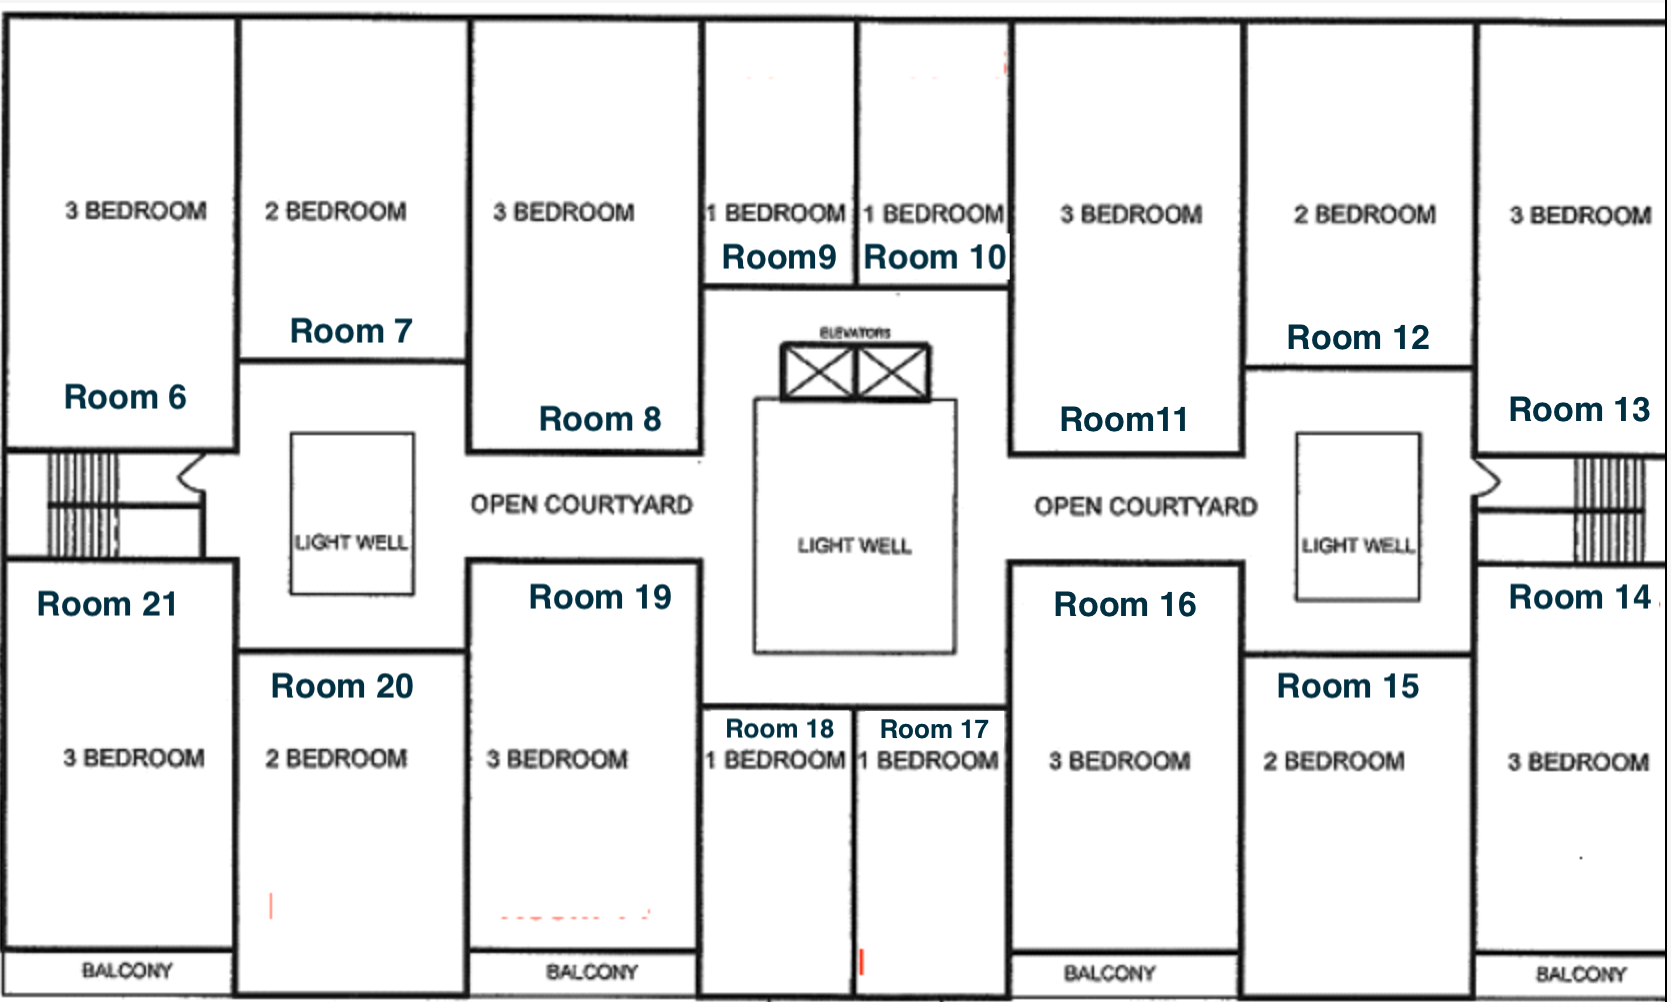 Floor Plan Image File
Note: Detailed floor plan images will provide the most precise location of assets when placing them on the map.
10. Save the Floor Plan.
.png) Save Floor Plan
Save Floor Plan
11. The following message is displayed.
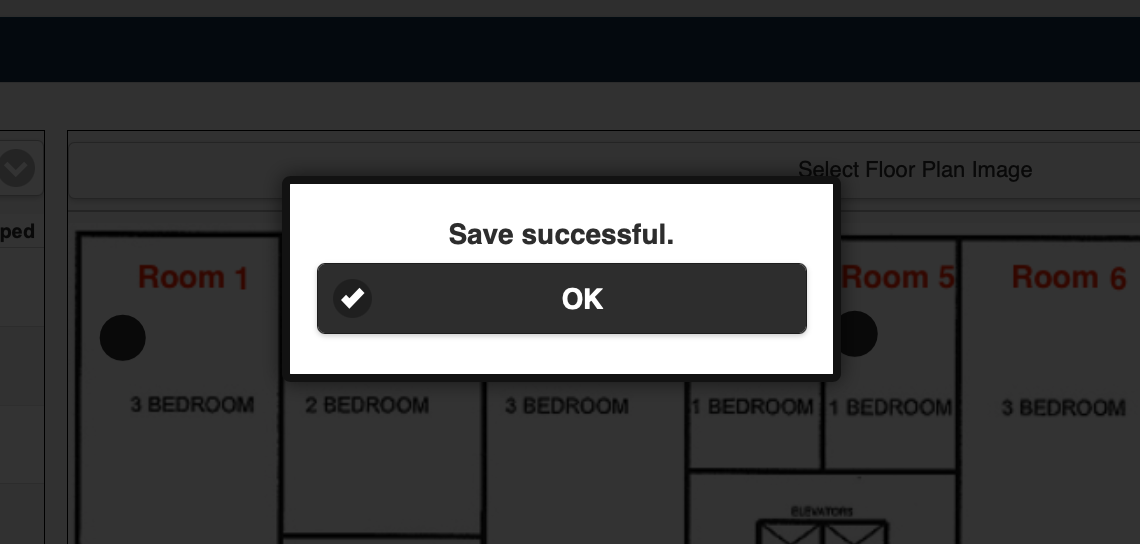 Save Successful Message
12. Select OK to exit the Save Successful window.
Was this article helpful?